A successful commercial photoshoot starts long before the camera comes out.
Lighting, composition, and retouching matter—but the condition of the product arriving on set matters just as much. Scratched packaging, wrinkled garments, missing accessories, or incorrect samples can slow production down and create problems that are difficult—or expensive—to fix later.
Professional retouching can clean up imperfections, but it shouldn’t replace proper preparation.
Here’s how to prepare your products before a commercial photoshoot so your team can work efficiently and get the strongest possible results.
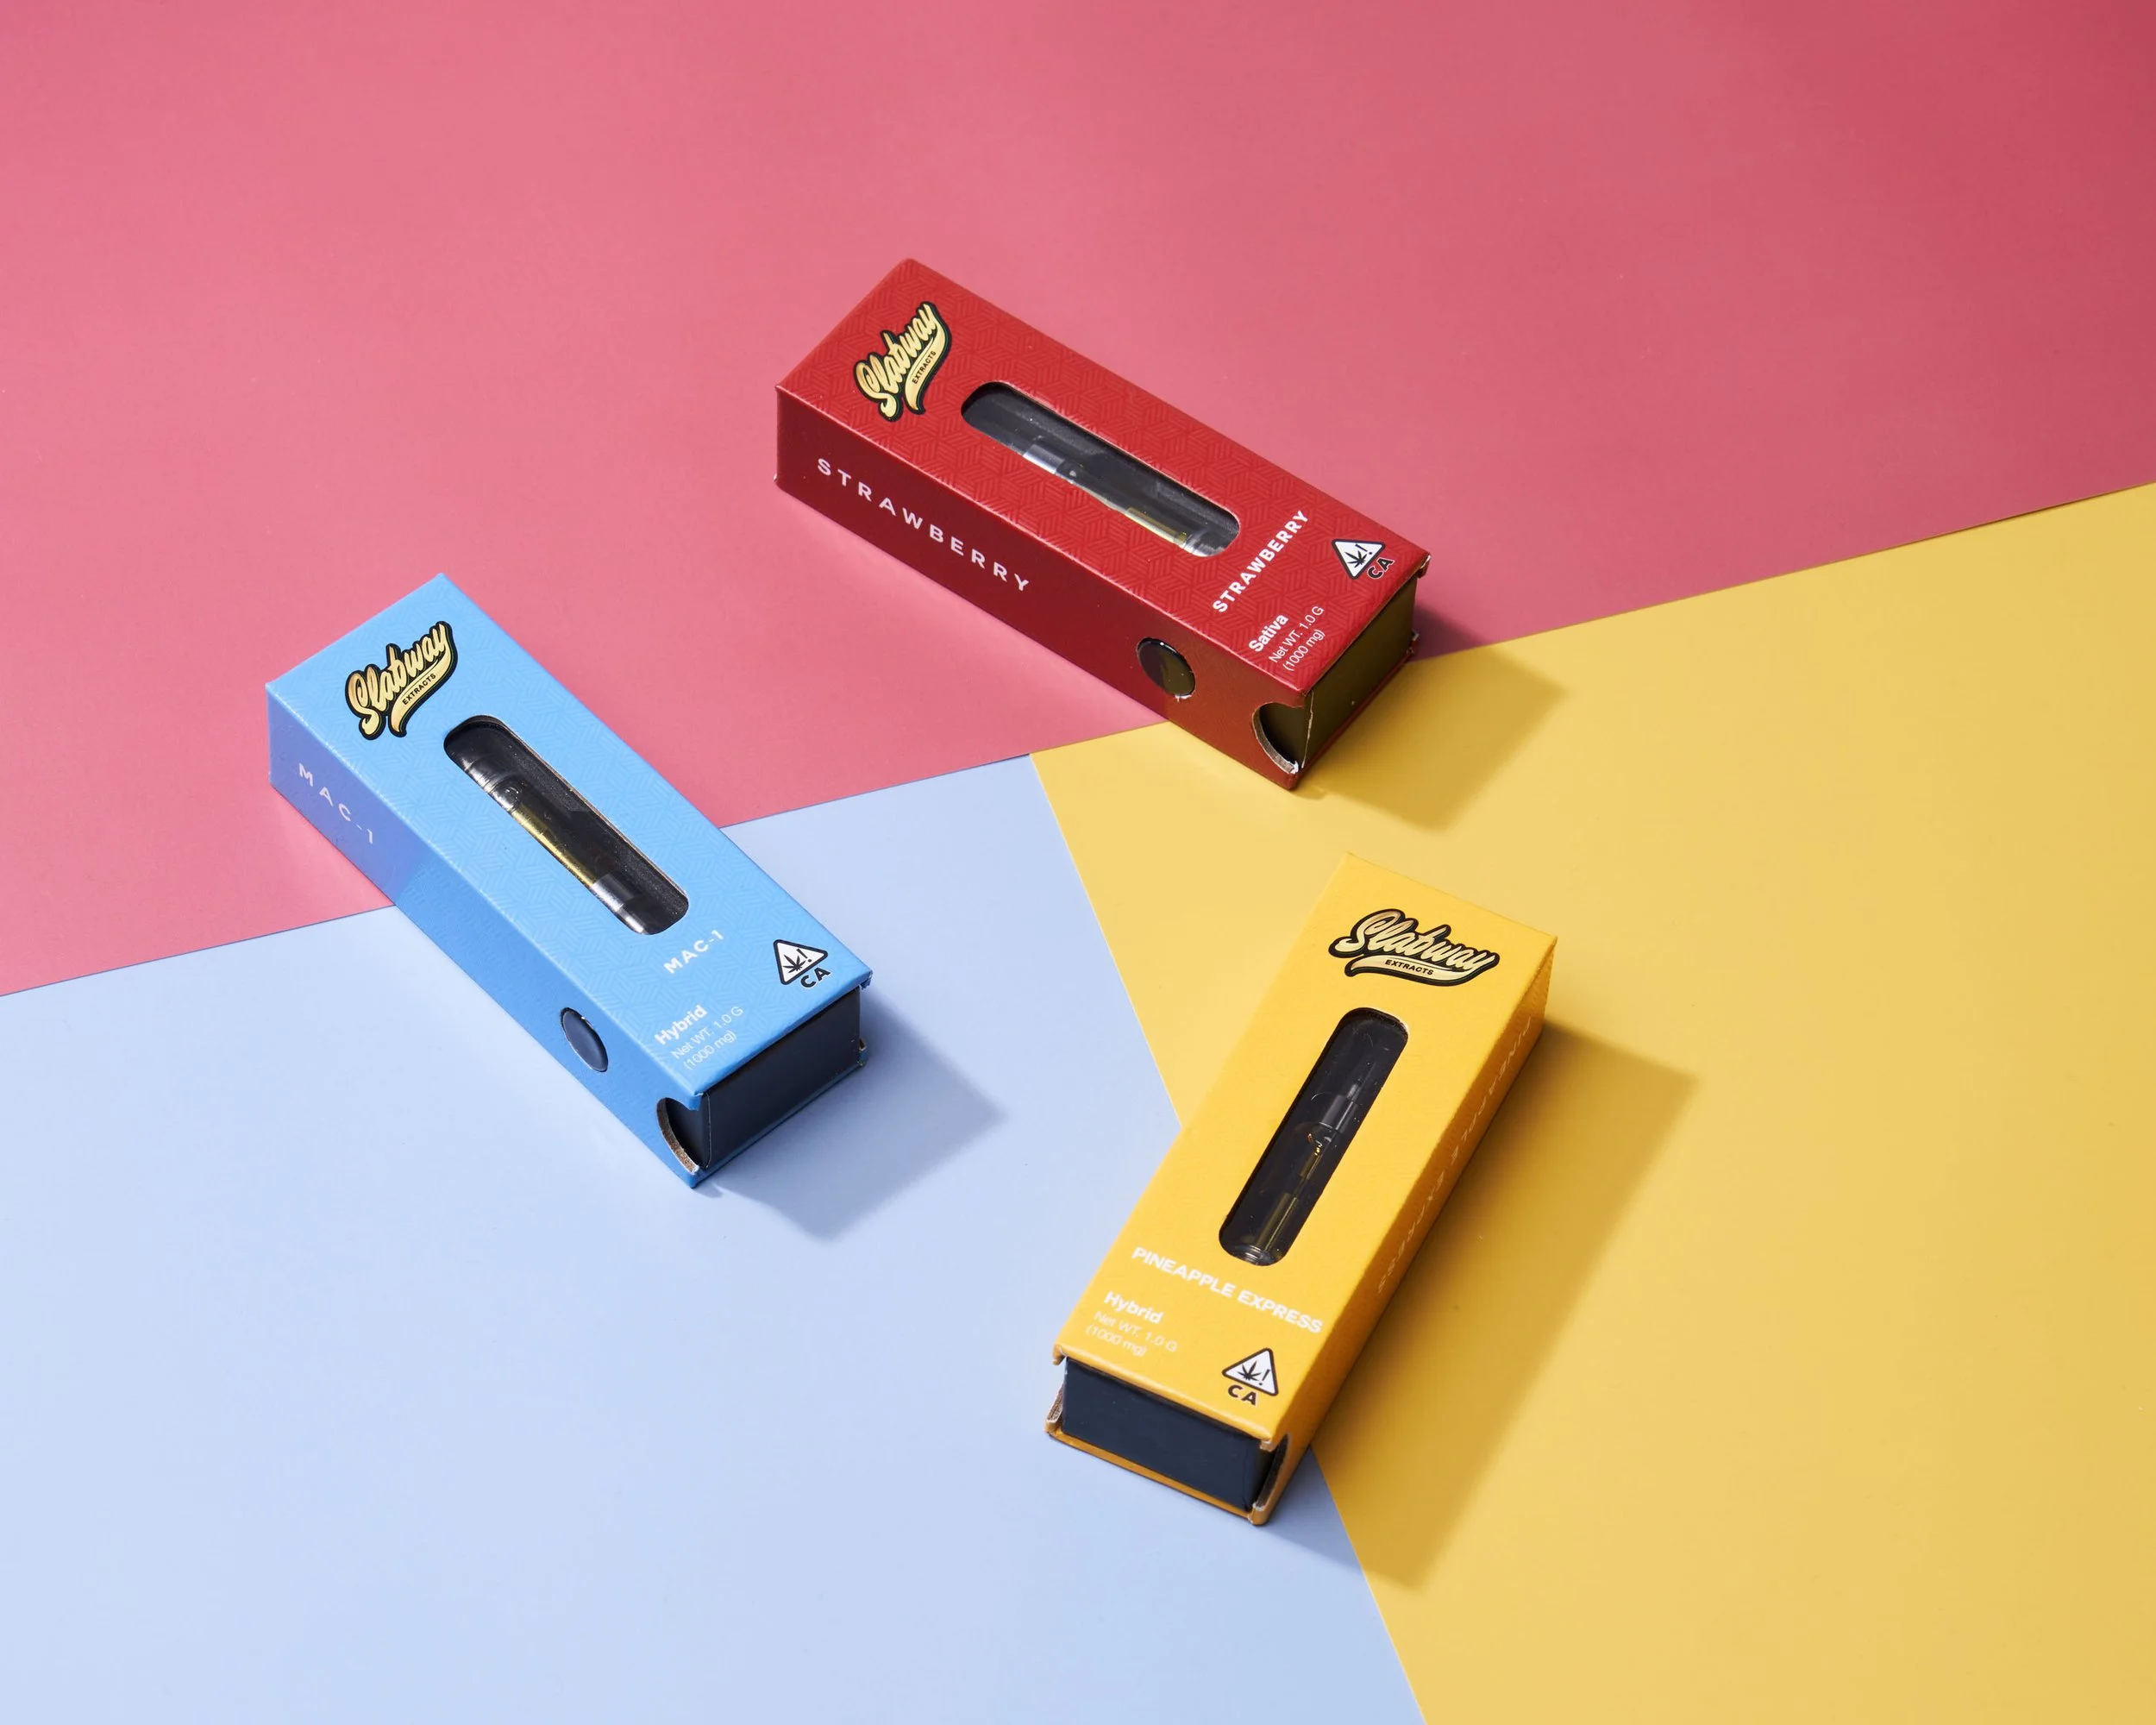
Color-coordinated product styling helps organize multiple SKUs while keeping the collection visually consistent and easy to navigate. © Rare Studio LA
1. Send the Best Samples You Have
The product being photographed should be as close to perfect as possible.
Before sending anything to the studio, inspect each sample for:
scratches or dents
damaged packaging
crooked or damaged labels
discoloration
manufacturing defects
missing components
If you have several samples of the same SKU, send the cleanest one—or send backups so the photographer can choose the best option.
A tiny defect that barely stands out in person can become very noticeable under studio lighting and a high-resolution camera.
2. Make Sure the Product Is Final
Whenever possible, avoid photographing unfinished prototypes or outdated packaging.
Confirm that the samples have the correct:
packaging design
logo placement
labels
colors
finishes
accessories
If something isn’t final, tell the photographer before the shoot.
Sometimes a prototype is the only sample available, and that’s workable. But knowing what needs to be corrected ahead of time allows the studio to plan for retouching, compositing, or other solutions instead of discovering the problem during production.
3. Clean Hard-Surface Products Beforehand
Dust and fingerprints become surprisingly visible in commercial photography.
This is especially important for:
glass
metal
glossy packaging
electronics
acrylic
jewelry
Clean the products carefully before packing them, and use protective packaging so they don’t immediately get dirty again during transportation.
The studio will usually perform additional cleaning on set, but starting with a clean sample saves production and retouching time.
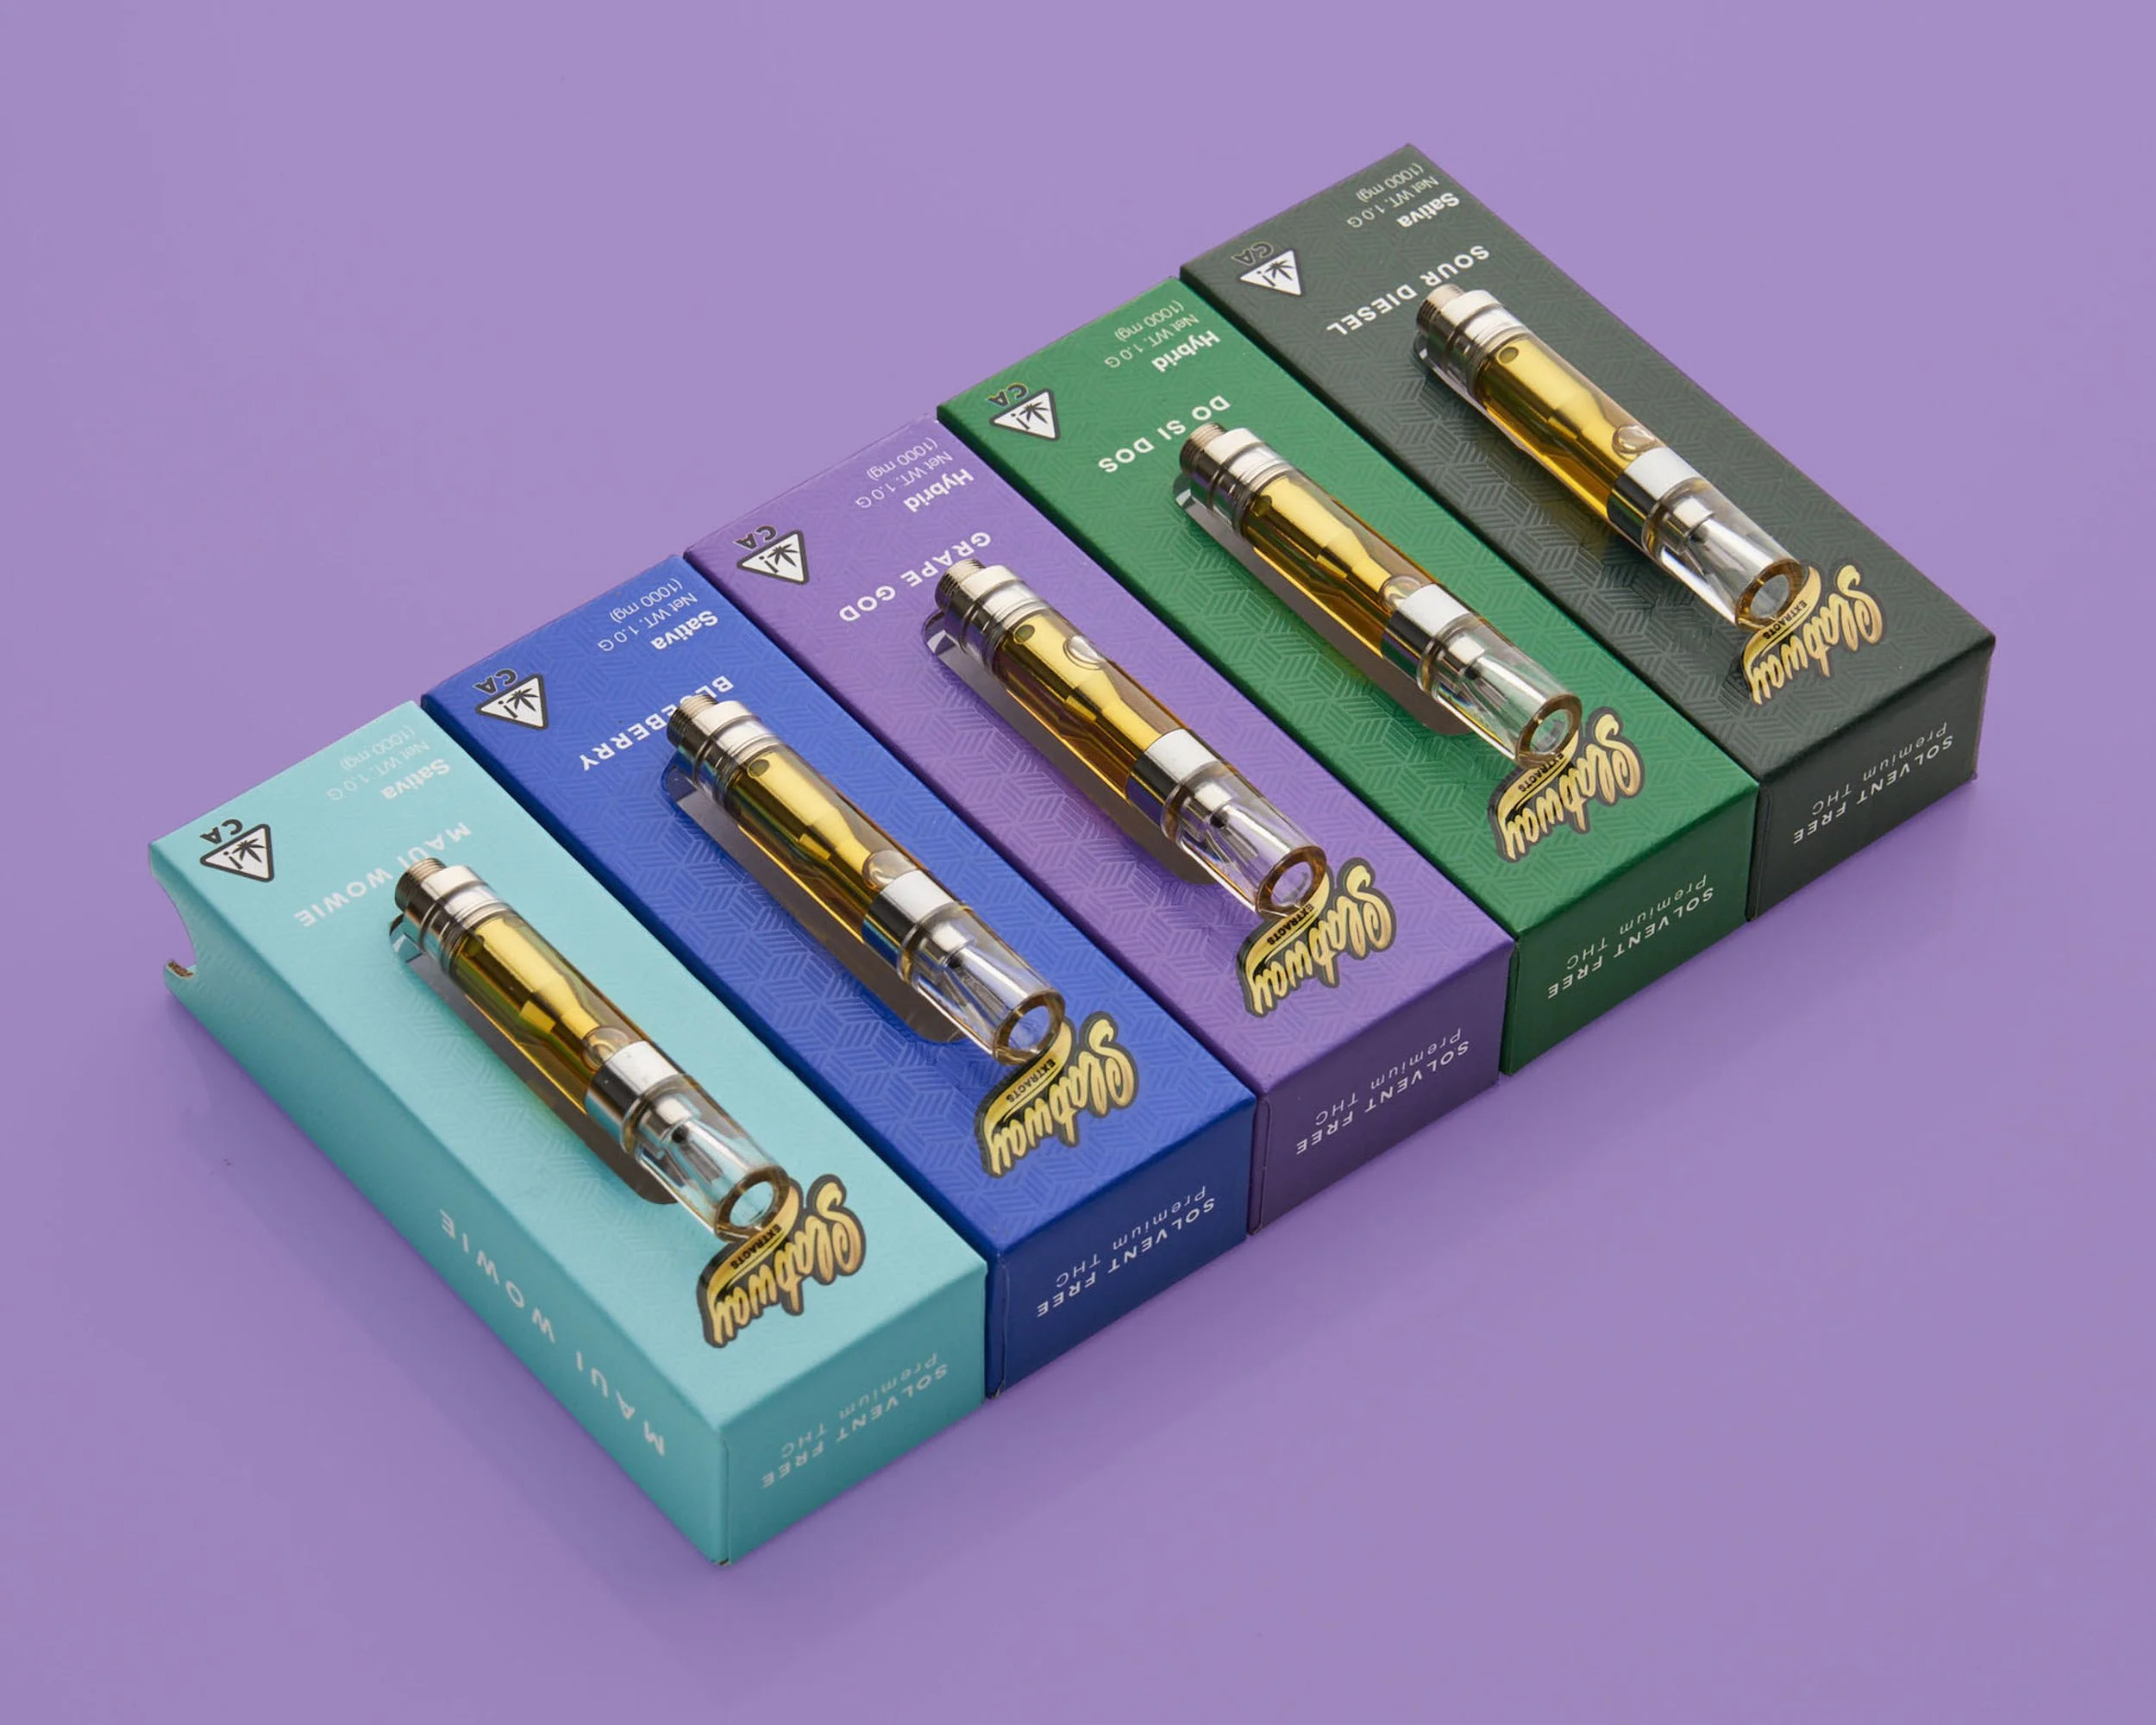
A clean lineup highlights product variations and packaging details while maintaining a consistent visual presentation across the collection. © Rare Studio LA
4. Prepare Apparel and Soft Goods Properly
Clothing requires a different type of preparation.
Before the shoot:
steam or press garments
remove lint and loose threads
check buttons and zippers
inspect seams
organize sizes and colorways
include any required accessories
Garments may need additional steaming and styling on set, but arriving in good condition makes the process significantly faster.
For larger apparel shoots, having every piece clearly labeled and organized can save a surprising amount of time.
5. Organize Products by SKU
If you’re sending dozens—or hundreds—of products, organization becomes critical.
Each product should be clearly identified with:
SKU
product name
color or variation
required shots
Ideally, the organization of the physical products should match the shot list.
This allows the photography team to move through products systematically instead of stopping to identify what they’re shooting.
6. Include Every Component That Needs to Be Photographed
Before shipping products, compare everything against the shot list.
Don’t forget:
packaging
inserts
accessories
cables
lids
replacement parts
cases
instruction materials
If an accessory appears in the final image but isn’t on set, production may have to stop—or the missing piece may require a separate shoot later.
A quick inventory check before shipping can prevent an entire round of reshoots.
7. Provide Reference Images
If you already know how you want the product photographed, send references before the shoot.
References can show:
preferred angles
lighting style
shadow treatment
background
composition
styling
They don’t have to come from your own brand.
The purpose is to establish a shared visual direction so the photographer understands what you’re expecting before production begins.
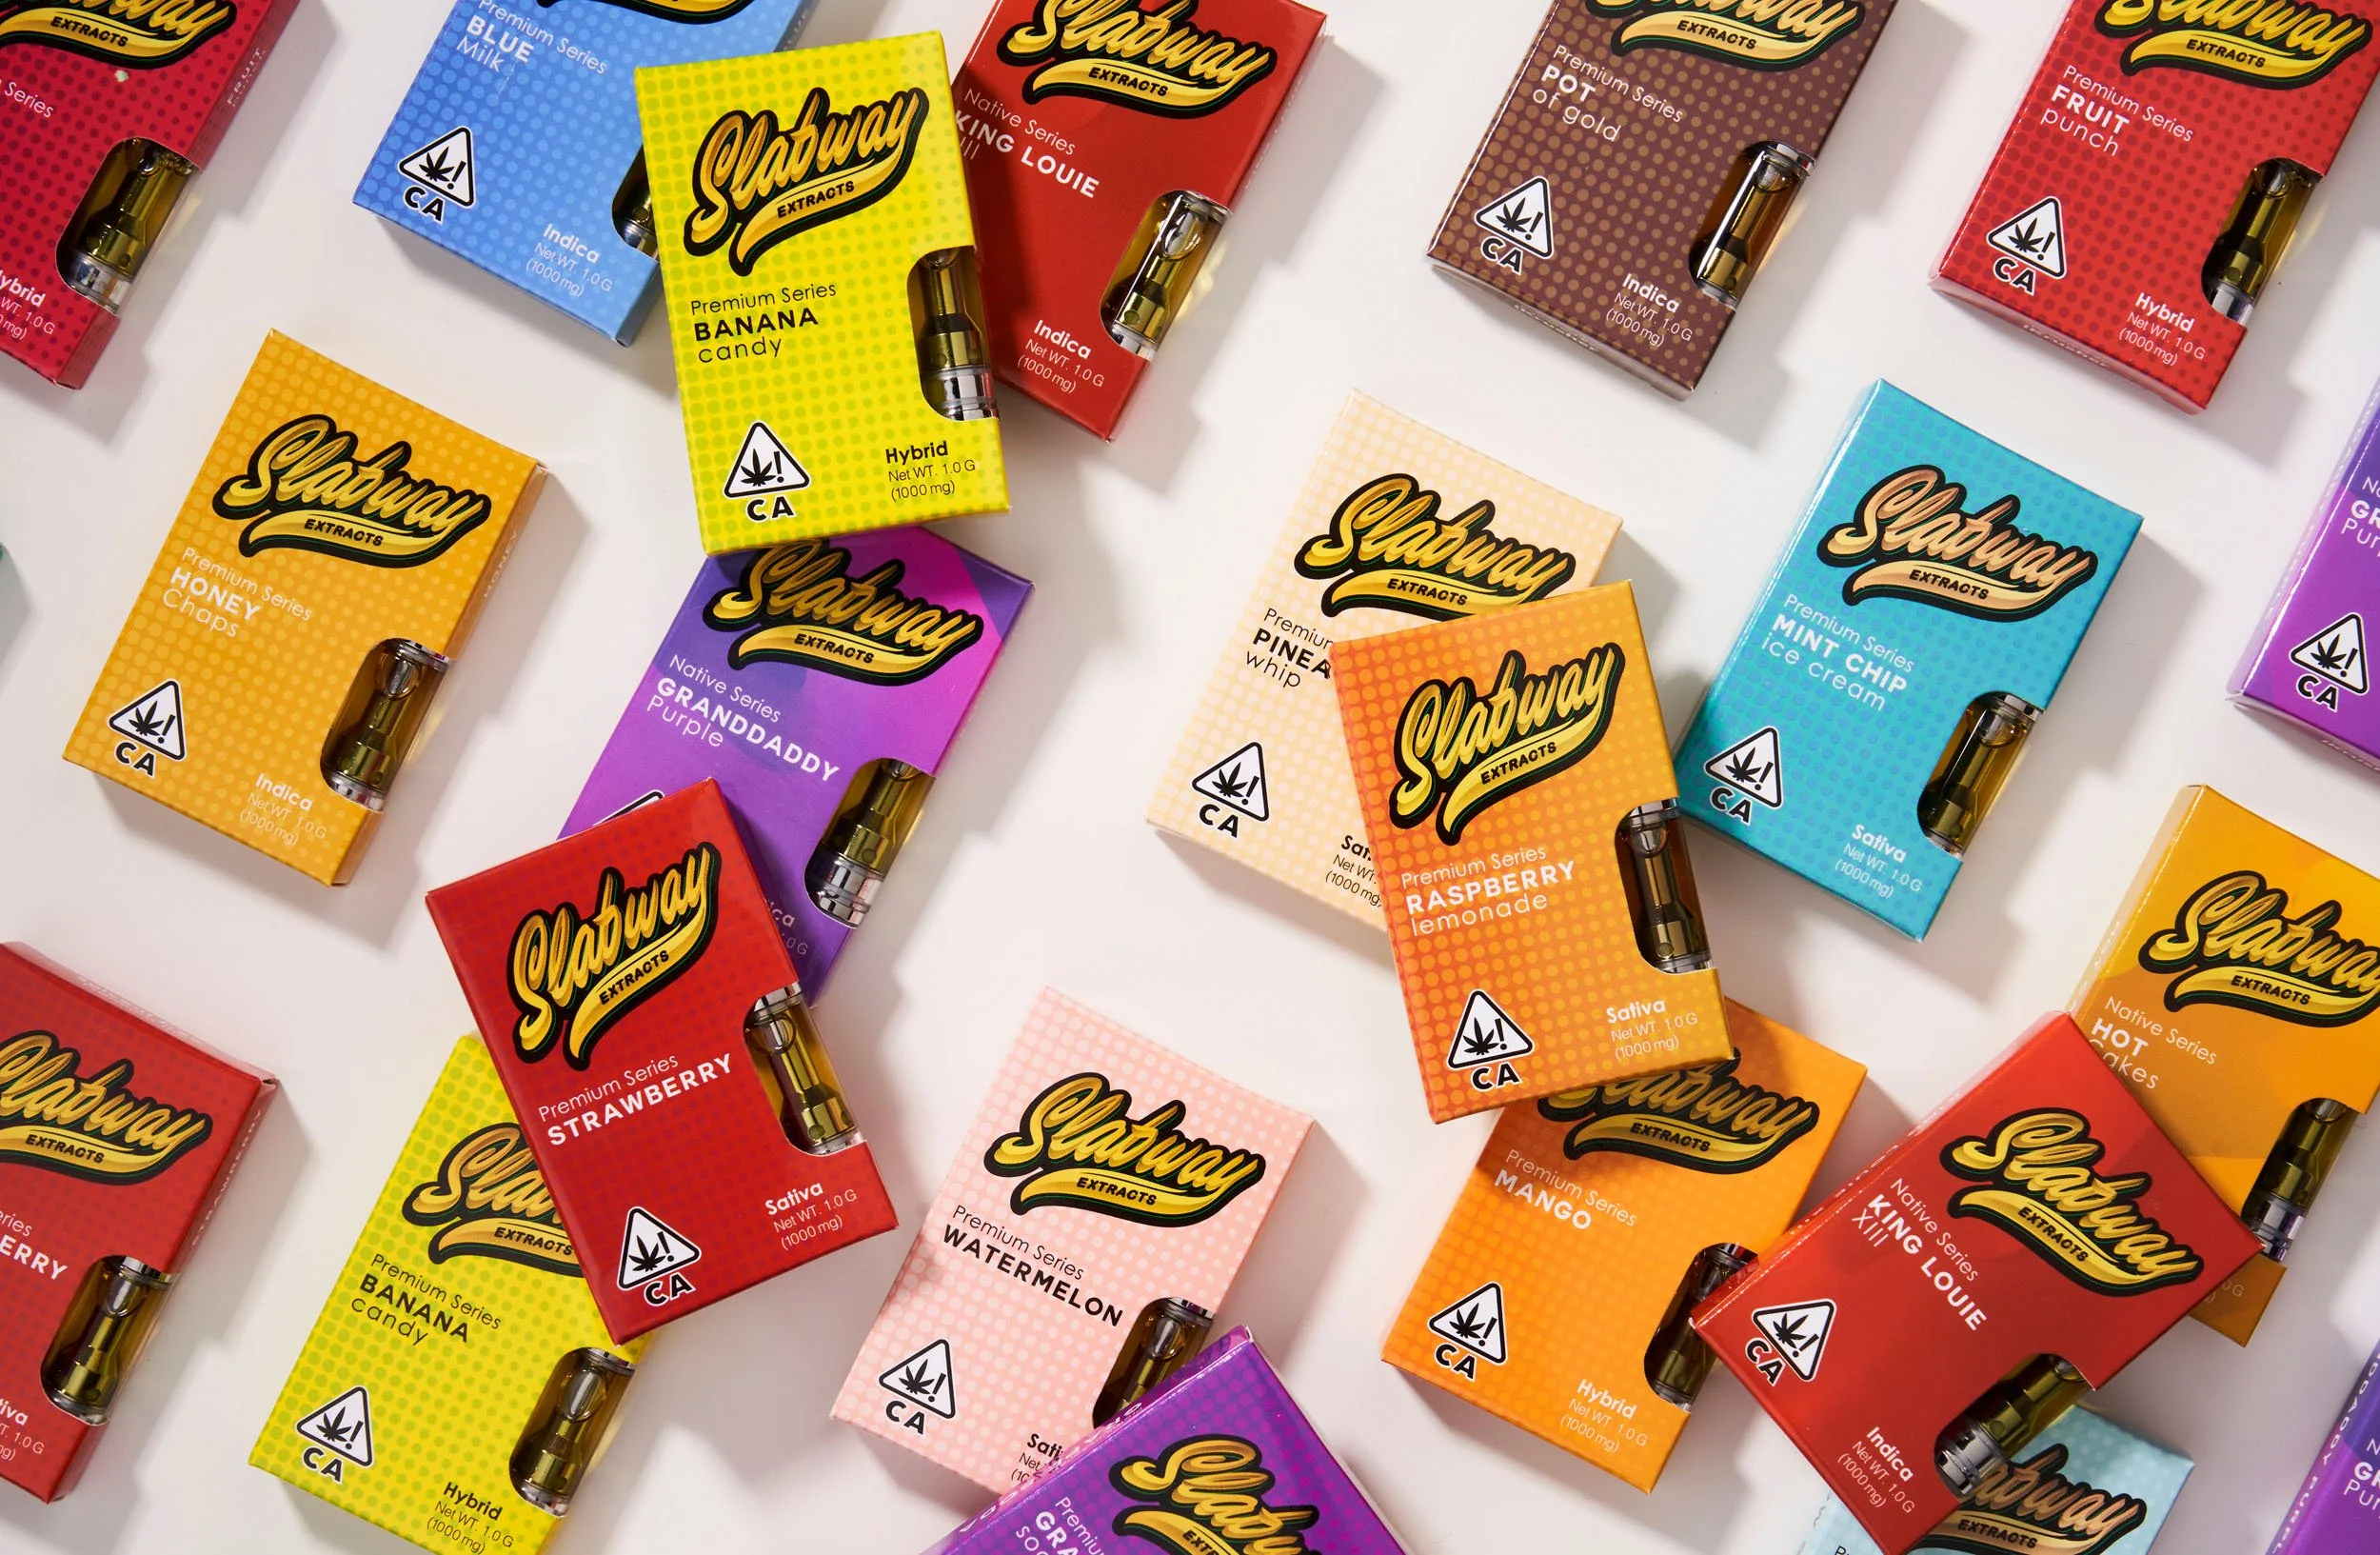
Consistent lighting, composition, and product presentation create a cohesive visual system across a large collection of SKUs. © Rare Studio LA
8. Flag Important Product Details
You know your product better than the photographer does.
If there are specific features customers need to see, point them out.
That could include:
a particular material
hidden storage
special hardware
texture
stitching
functional components
packaging details
Don’t assume the photographer will automatically know which feature matters most commercially.
The more context you provide, the easier it is to create images that communicate the product effectively.
9. Send Backup Samples When Possible
Products get damaged.
Packaging gets scratched in transit. Glass breaks. Labels peel. Apparel gets stained. Samples sometimes arrive with manufacturing defects that weren’t visible beforehand.
For important shoots, backup samples provide insurance.
This becomes especially important when production involves models, stylists, rented locations, or a larger crew. Rescheduling an entire production because of one damaged product can be far more expensive than sending an extra sample.
10. Don’t Rely on “We’ll Fix It in Photoshop”
Retouching is an important part of commercial photography, but fixing problems digitally usually takes longer than preventing them physically.
Removing a small scratch is easy.
Rebuilding damaged packaging, replacing labels, reconstructing missing product details, or correcting heavily wrinkled fabric is something entirely different.
Whenever a problem can reasonably be fixed before the shoot, fix it before the shoot.
Use retouching to polish the product—not rebuild it.
The Bottom Line
Product preparation may not be the most visible part of a commercial photoshoot, but it has a direct impact on production efficiency and final image quality.
Clean samples, correct packaging, organized SKUs, complete accessories, and clear references allow the photography team to spend more time creating strong images—and less time solving preventable problems.
A little preparation before shoot day can save hours during production and even more time in post.
Need help getting your products shoot-ready?
You don’t need everything figured out before contacting a studio. A good production team can help identify what needs to be prepared, what should be brought to set, and what can realistically be handled in post-production.
At Rare Studio LA, we work with brands before the shoot to make sure products, references, and deliverables are aligned before production begins.
You can explore our work at rarestudiola.com, and check our Google reviews if you want to hear from teams we’ve partnered with.